Manage customers
Every job in Planner is created for a customer. Because a job references a customer, the customer has to exist before you can create the job. Set up your customers here so your team can point each job at the right one.
Why customers come first
A job records who the work is for. When you create a job, you pick the customer it belongs to from a list. If the customer is not on that list, the job cannot reference it. Keeping this list current means every job starts out attached to the right customer.
You need the Manage Planner settings permission to add or change customers. See Planner permissions for who has it.
Before you start
Open Planner, then go to Settings, and open the Customers page.
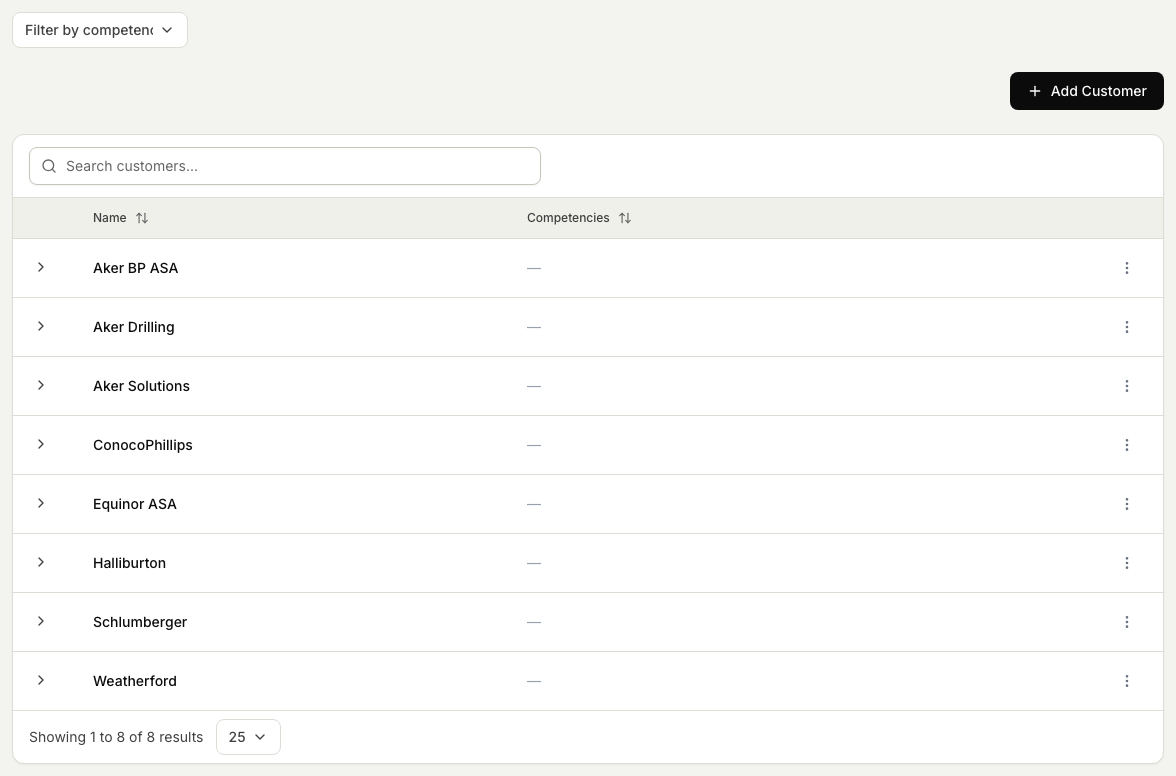
Add a customer
- In Settings, open Customers.
- Select Add Customer.
- Enter the customer name.
- Save.
The new customer appears in the list and is immediately available when you create a job.

Edit or remove a customer
To change a customer later, select it in the list and edit it. To remove one, use the delete action on its row. Remove a customer only when no current jobs still reference it, so your existing jobs keep their customer.
What happens next
With your customers in place, you can create jobs and attach each one to the right customer.