Fill in an offshore timesheet
This tutorial walks you through an offshore timesheet from opening it to submitting it. An offshore timesheet is driven by your rotation, so most of the month is already filled in for you. Your job is to check it, adjust anything that is wrong, approve the days you worked, and submit.
What you will end up with: a submitted offshore timesheet for the month, with every worked day approved and the hours locked in for payroll.
Time: about 5 to 10 minutes.
1. Open your offshore timesheet
Open the Timekeeper module and select the offshore timesheet for the month you want to work on. The days are already laid out for you, because an offshore timesheet is built from your rotation, the on and off cycle you are planned on. If your organisation uses Planner, this is the same schedule you can see in your schedule, and it is shaped on the schedule board.
2. Review the pre-filled days
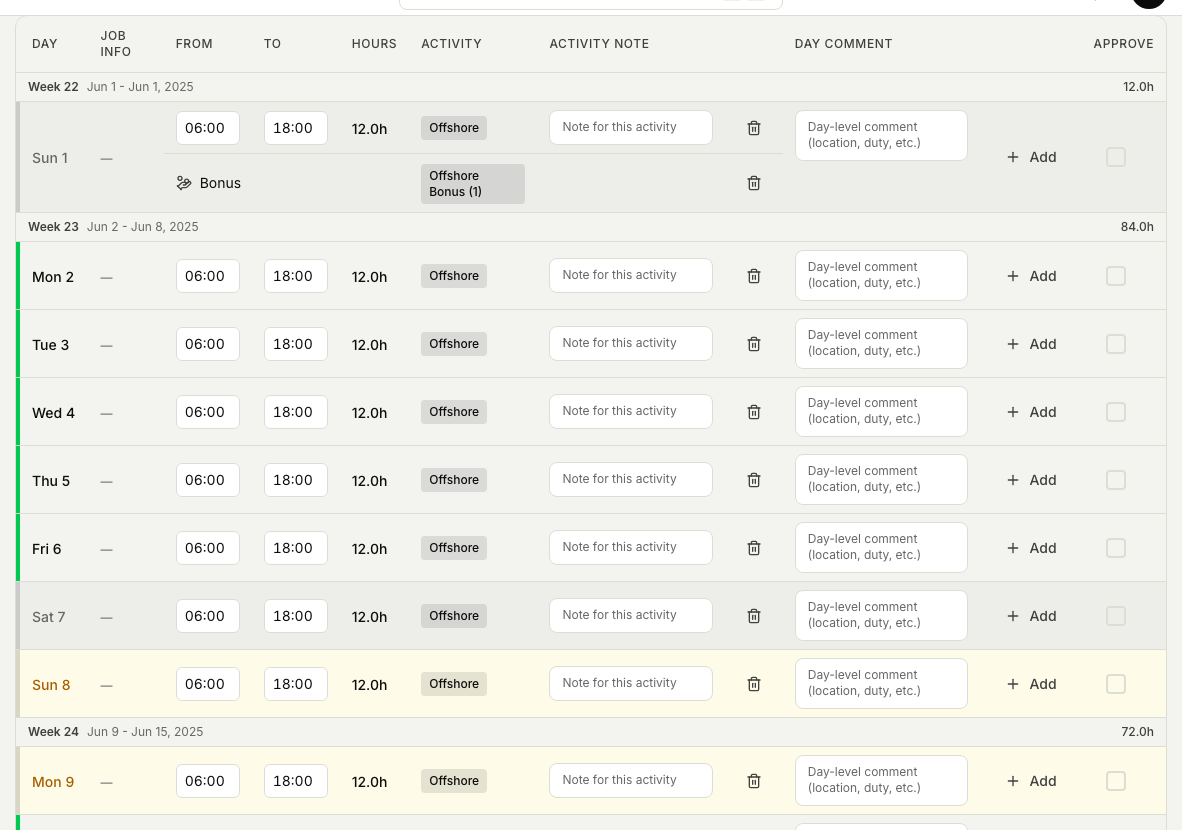
Go through the month and check that the pre-filled days match what actually happened. Each day carries the hours and activity that came from your rotation. Most of the time this is correct and you only need to confirm it.
3. Recalculate if your rotation changed
If your rotation was changed after the month was first laid out, for example your rotation shifted or a job moved, use Recalculate to refresh the timesheet from the latest rotation. This pulls in the current plan so the days match reality again. If nothing about your rotation changed, you can skip this step.
4. Add or adjust entries
Where a day is missing something or a value is wrong, add or change the entries on that day. This is also where you add extra items such as a bonus or an allowance, or exclude an automatic row that does not belong. See Add and reject entries on a day.
5. Approve each worked day
Approve each day that you worked. Approving is how you confirm the hours on that day are correct and ready to go forward. Work through the month until every day with entries on it is approved.
You cannot submit until every day that has entries is approved. If Submit is blocked, look for a day that still needs your approval.
6. Submit
When every worked day is approved, submit the timesheet. At this point your hours are frozen into the timesheet. This is deliberate and it protects you: once you submit, a later change to the plan, for example a job move made in Planner, cannot silently alter or erase the hours you already submitted. What you approved is what stays.
After you submit, the timesheet moves on to your manager for approval. To follow what happens next, see Understand timesheet statuses.